I got curious about working in terminal text editors. I knew how to work with emacs and Vim, but both were just simple text editors I used to edit something on the remote server.
So, I asked myself how to configure Vim to work as an IDE in the terminal, not the text editor I used before. It must have autocomplete, syntax highlighting, error reporting, etc… And I found out how to do that.
Screenshots
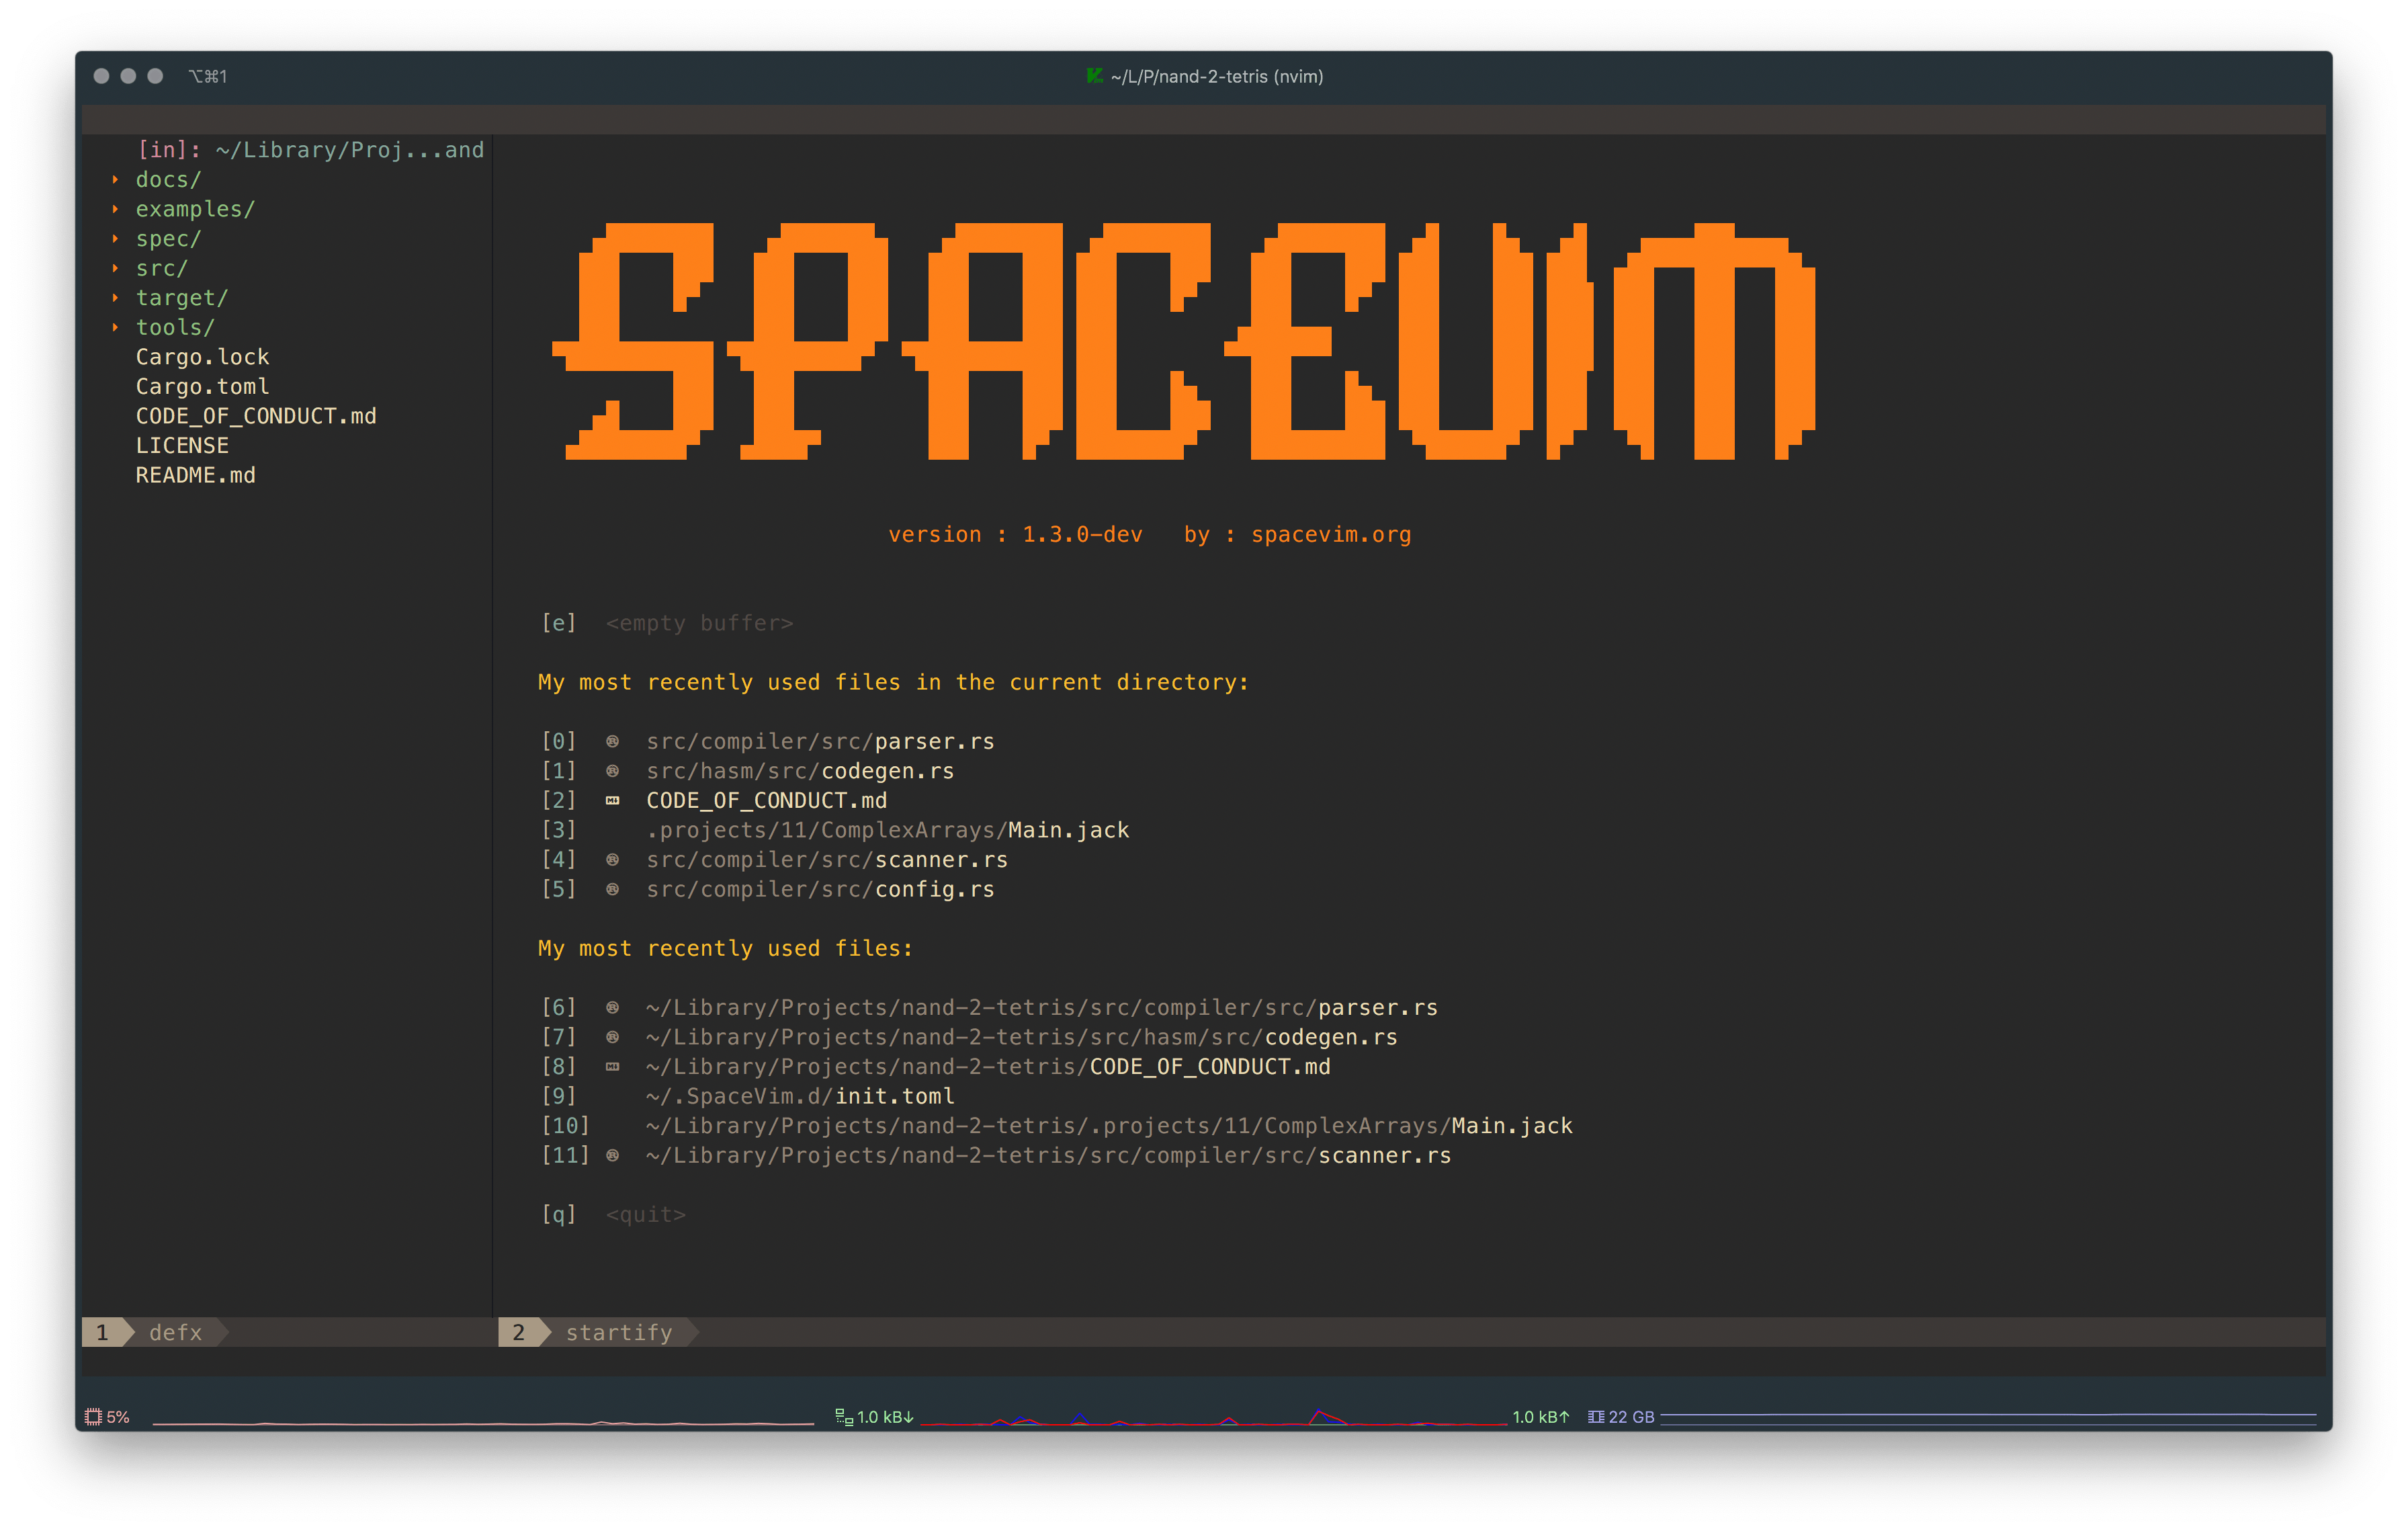

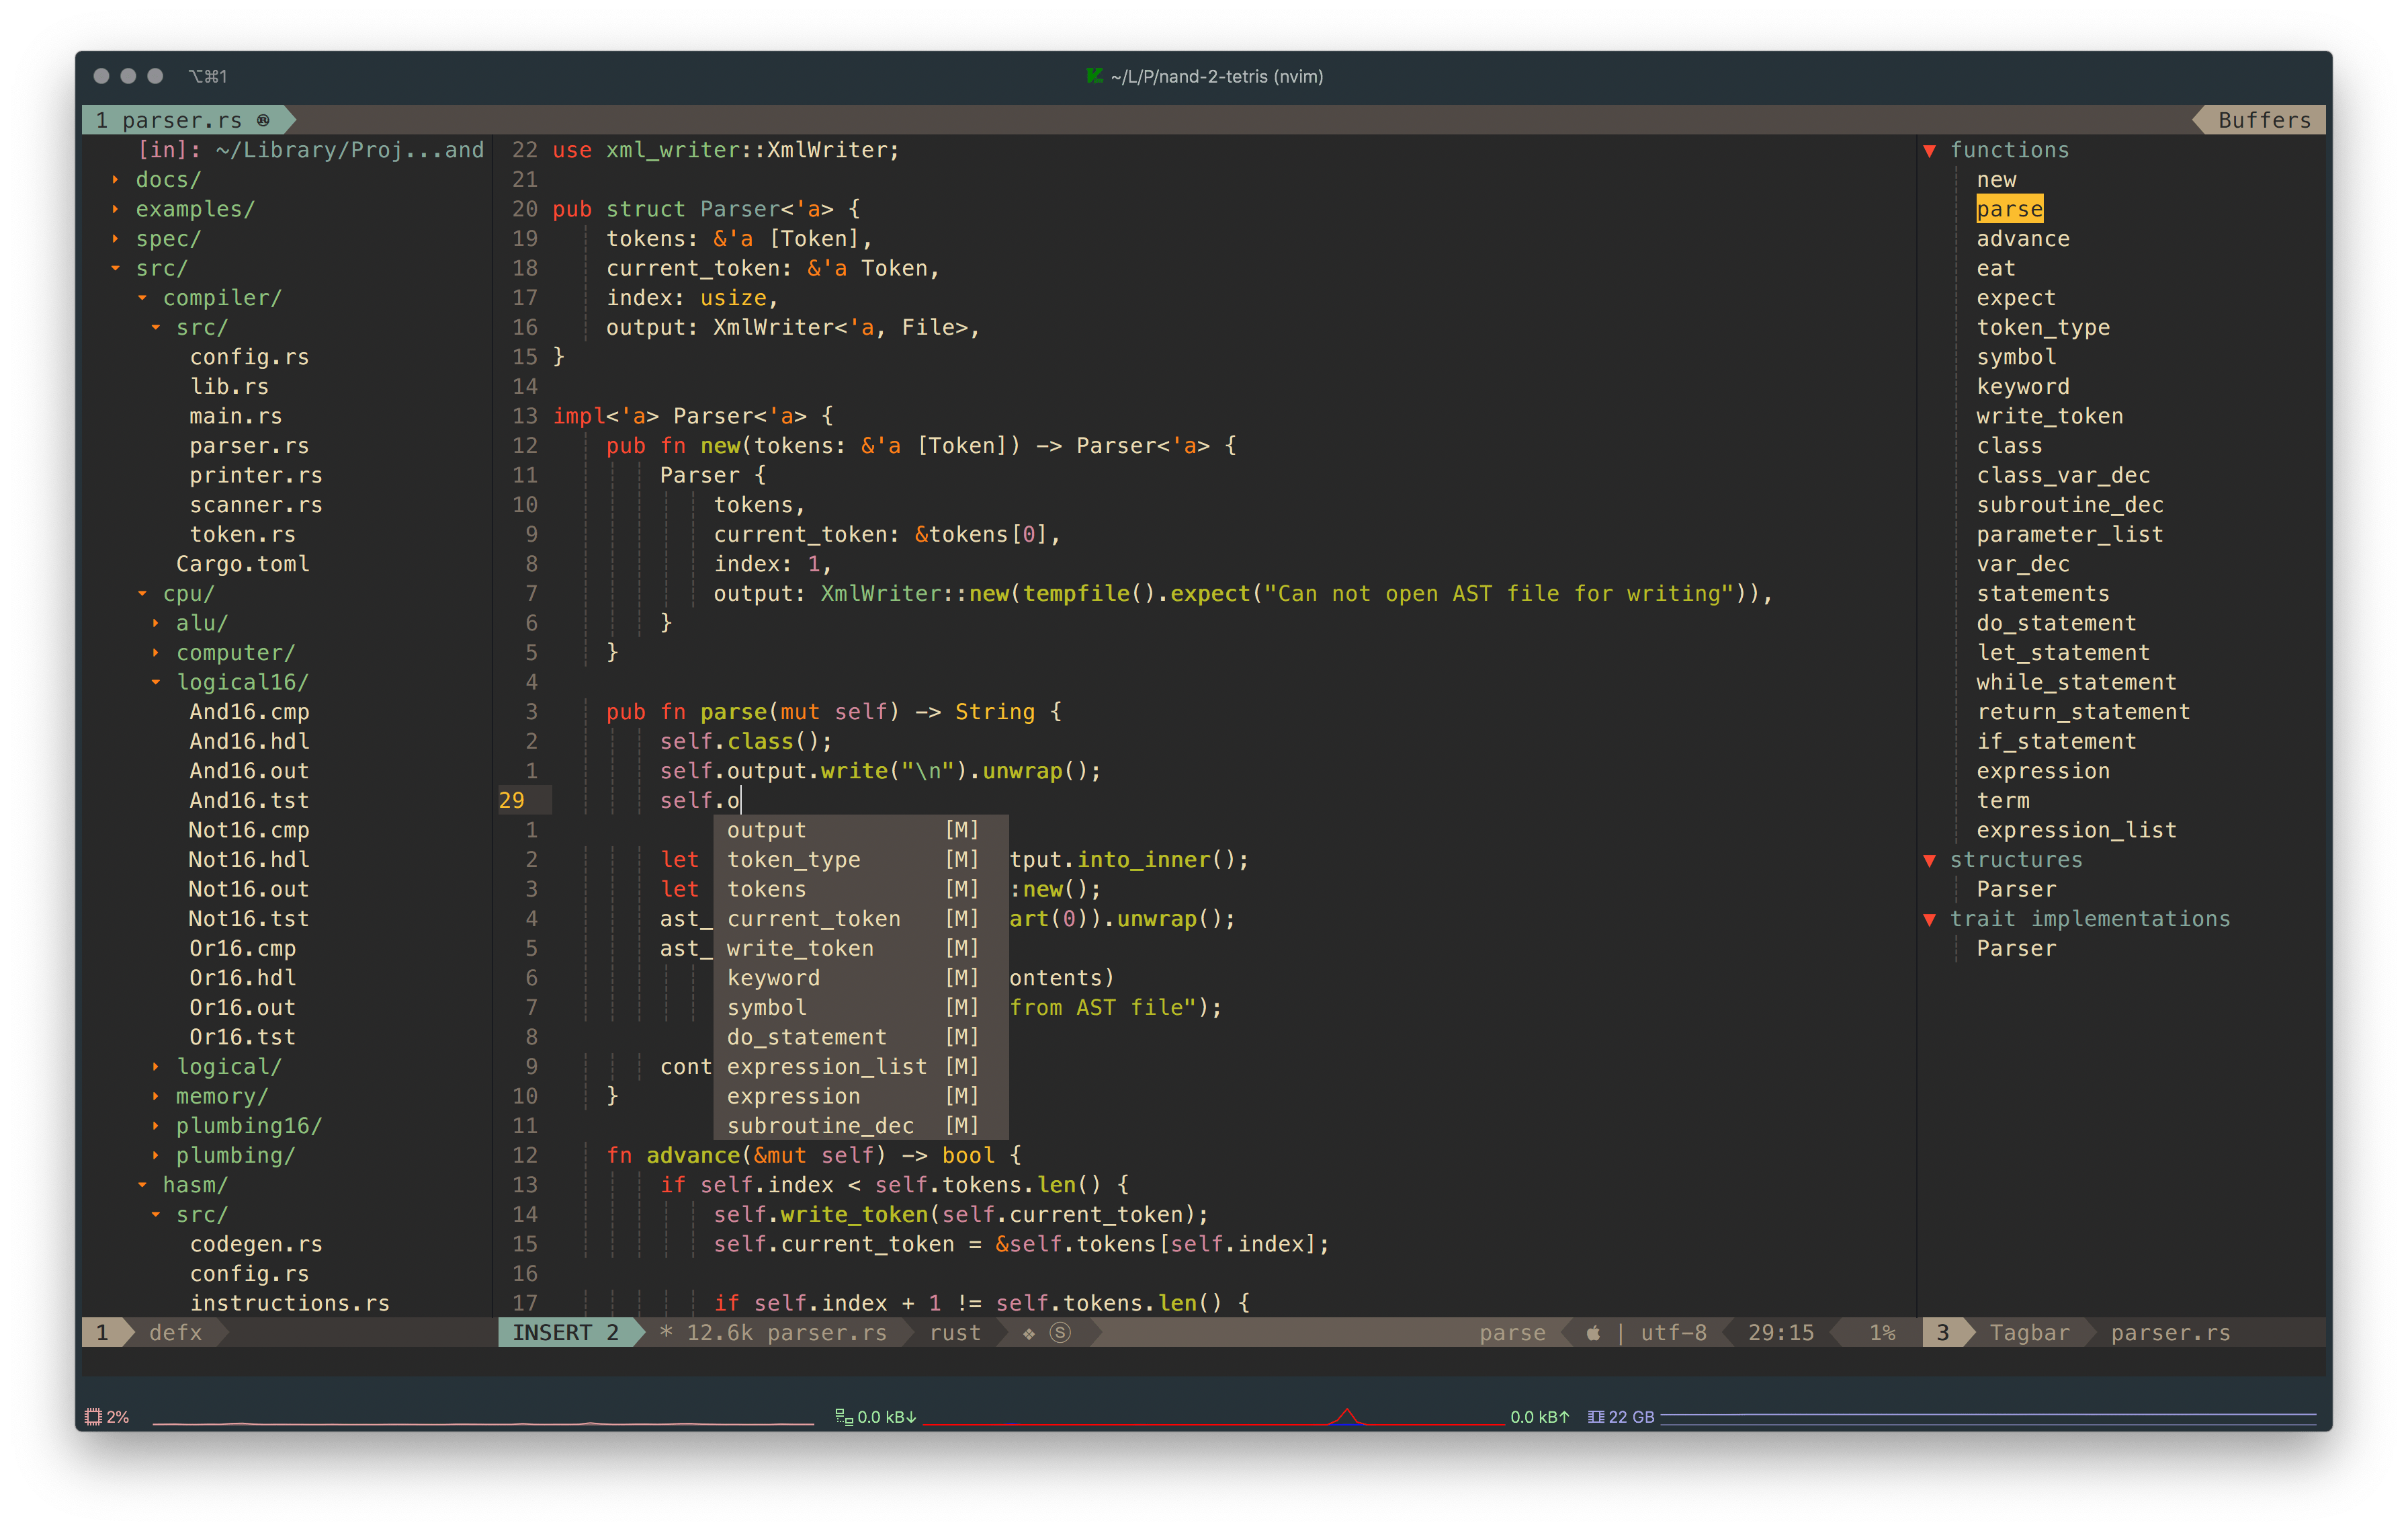
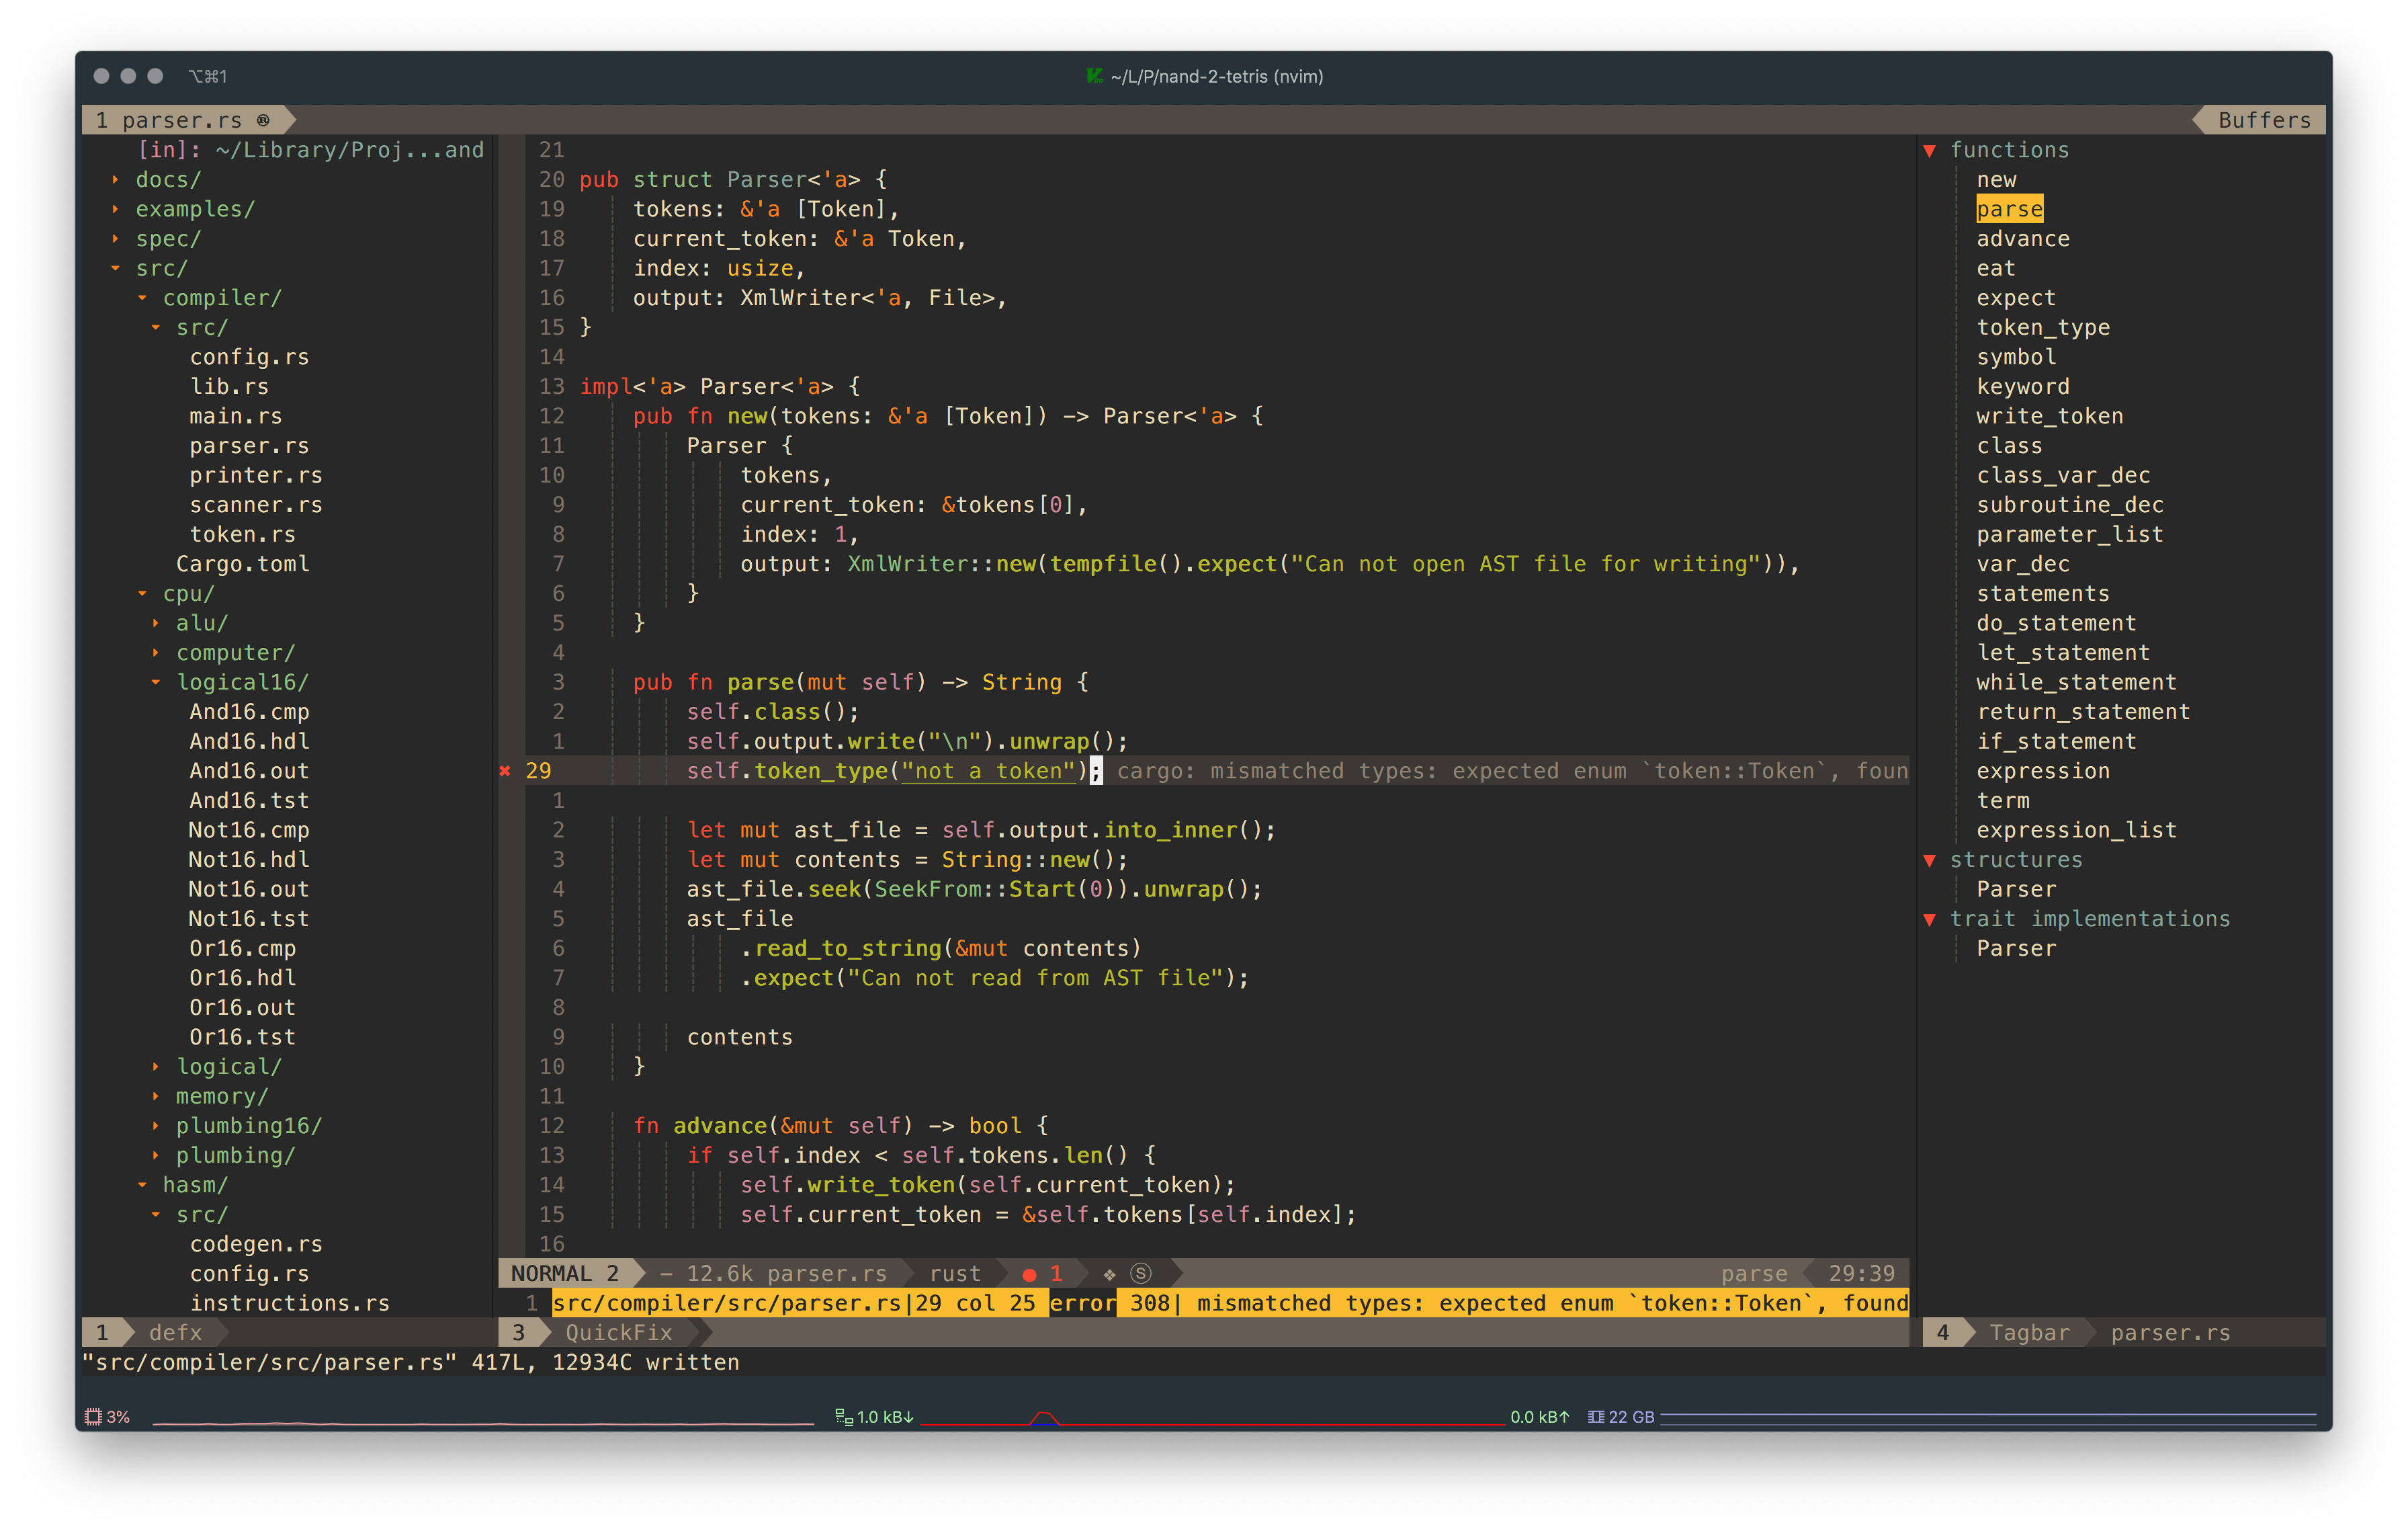
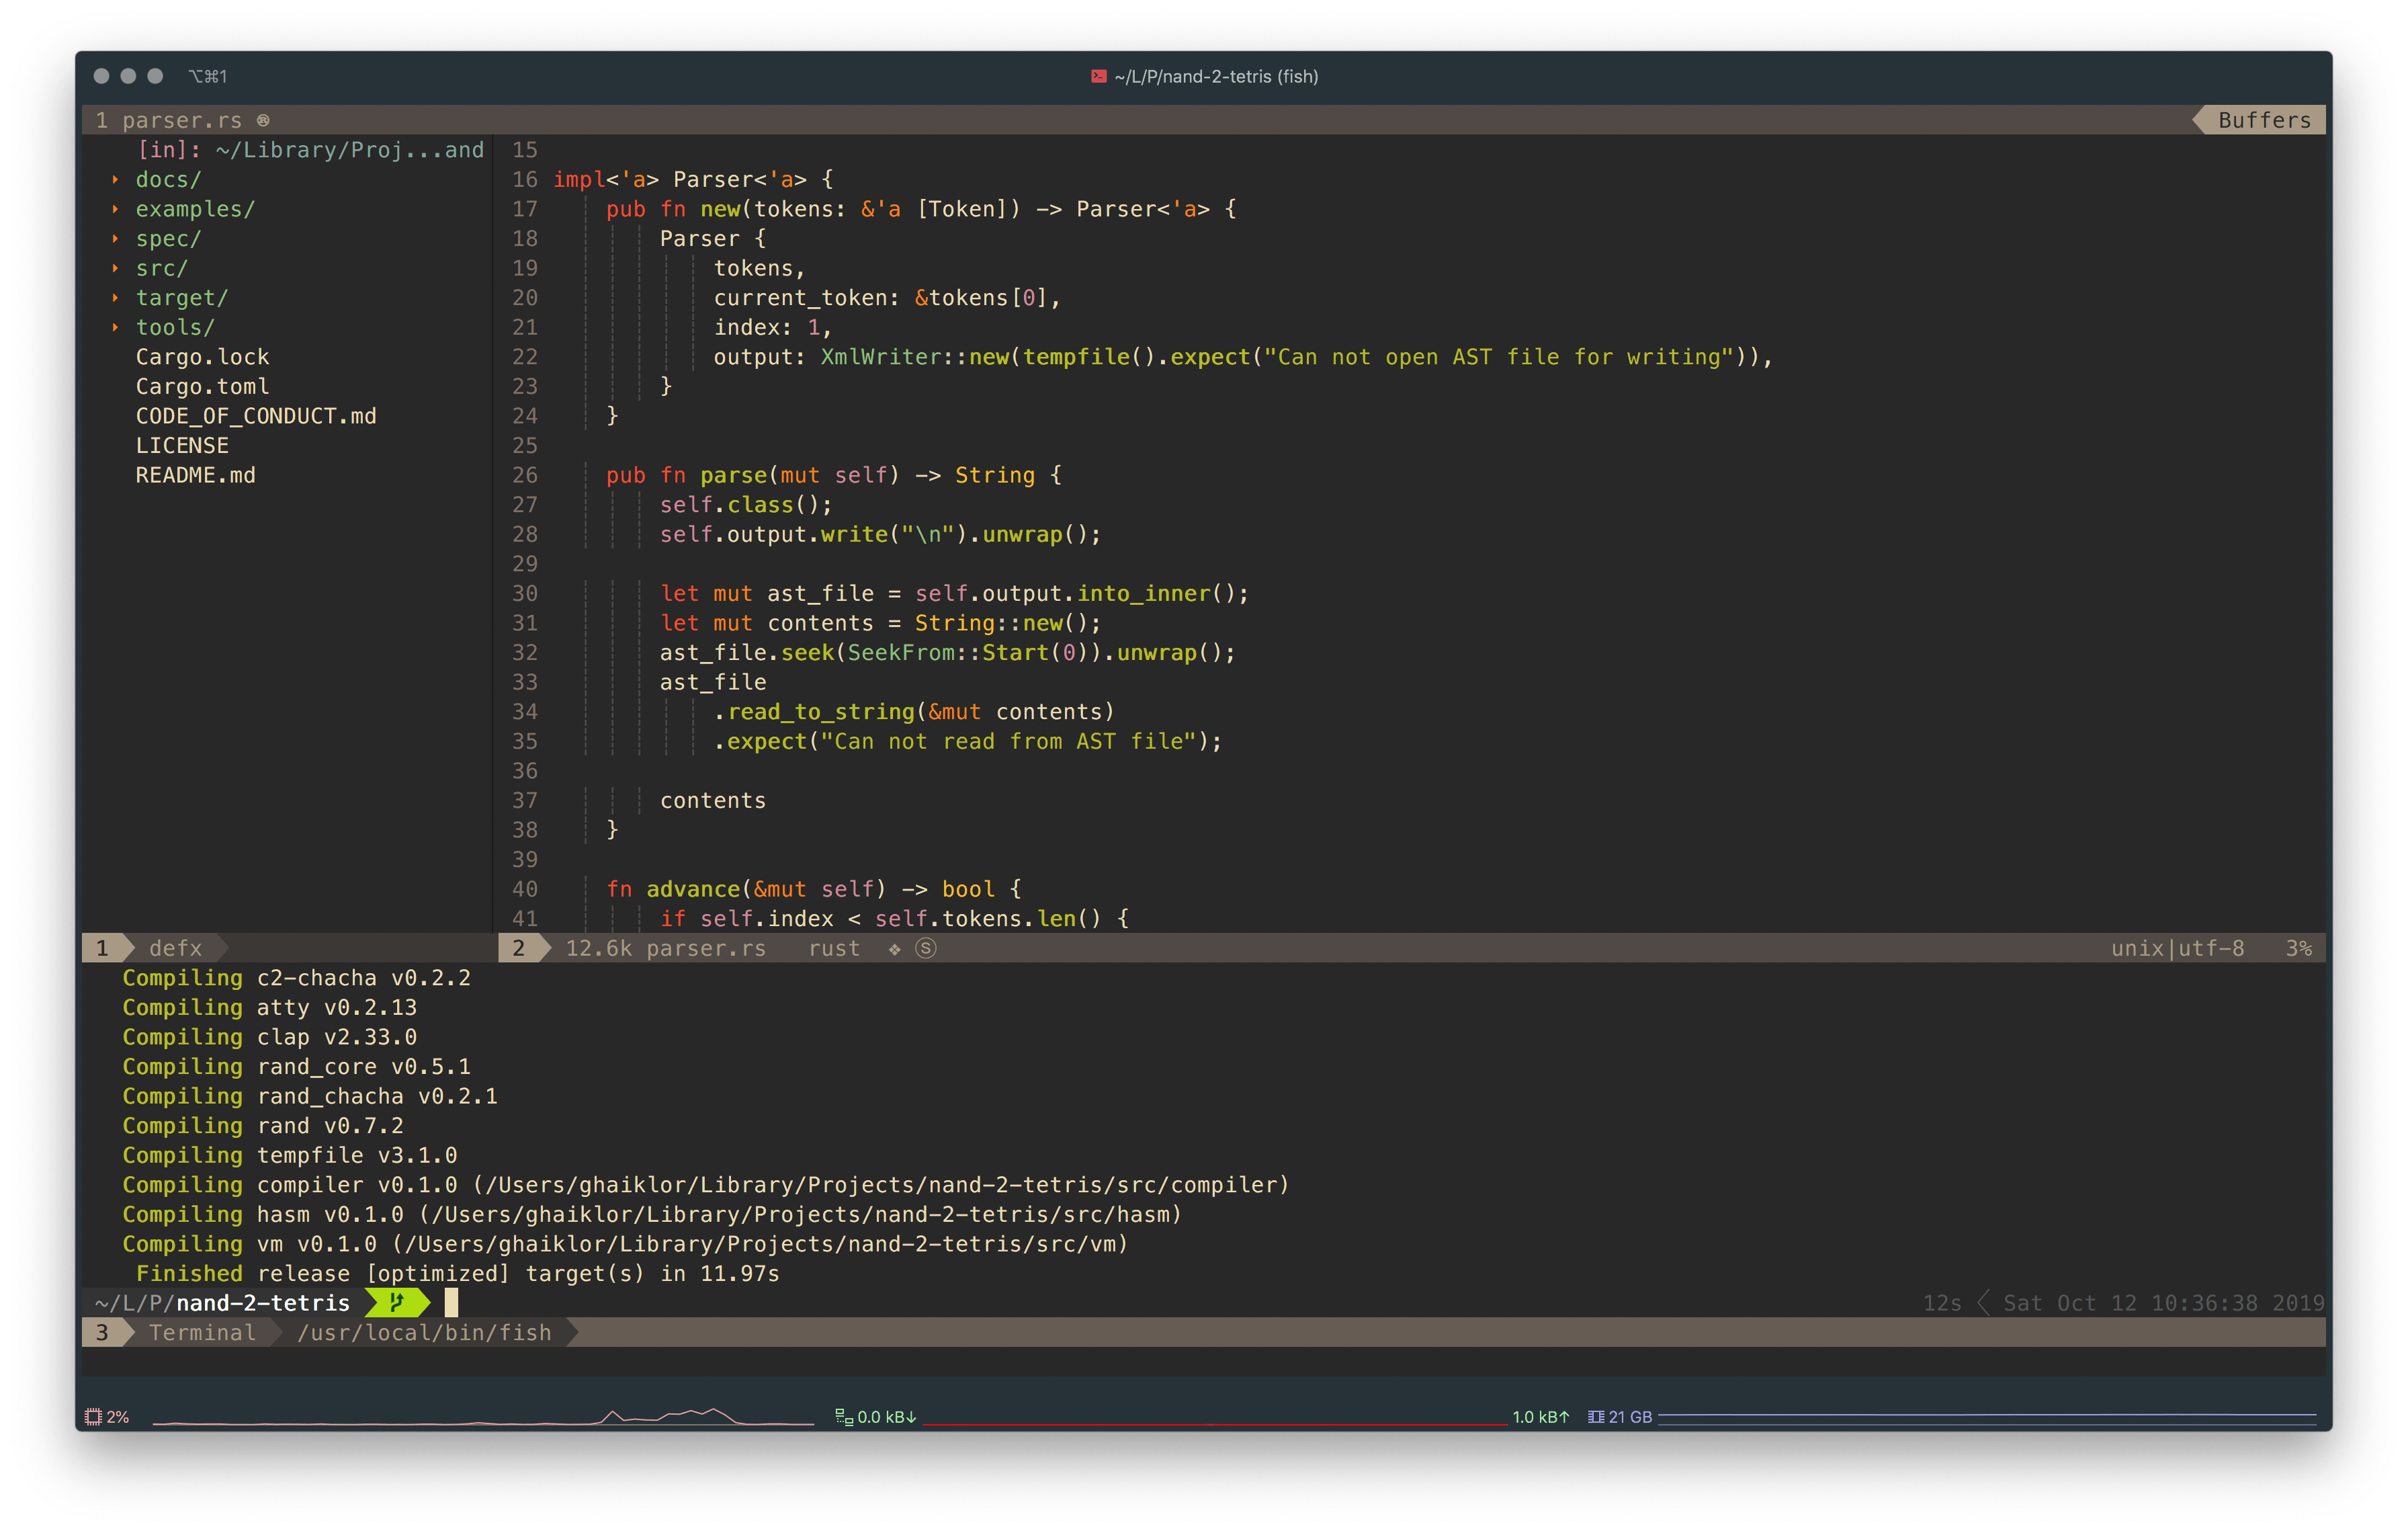
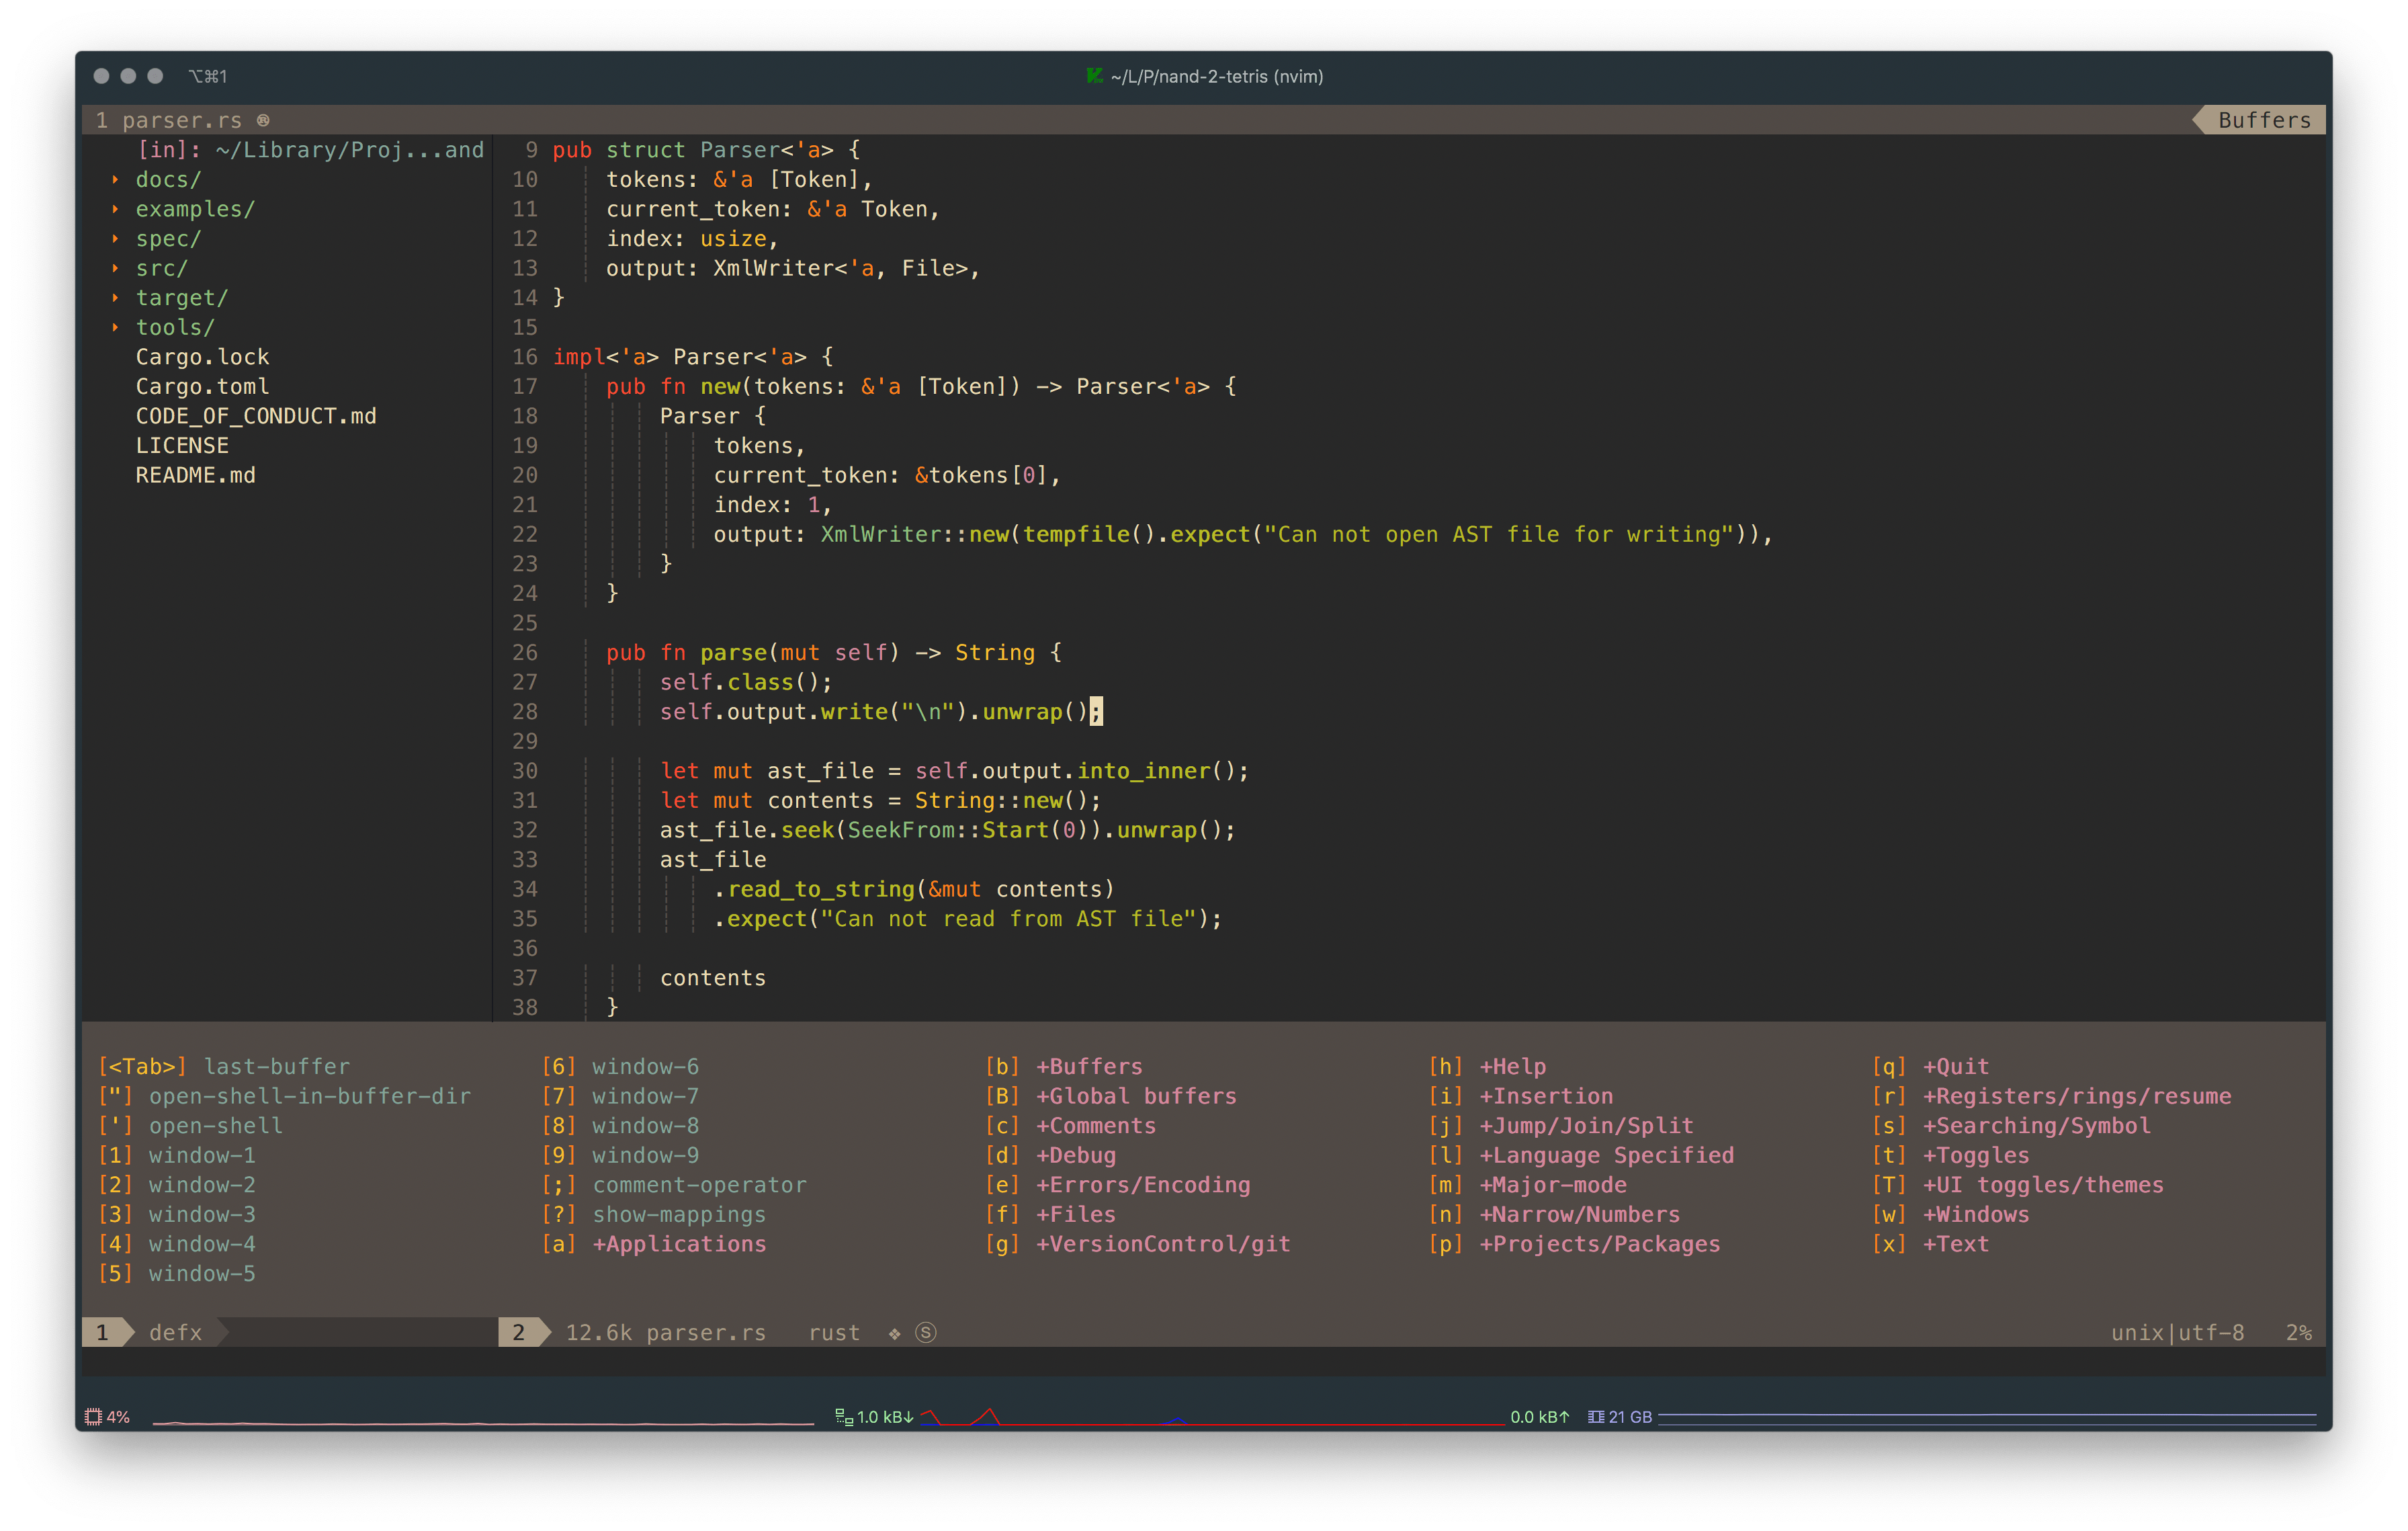
NeoVim
First, you need to install neovim on your machine. Neovim
is a text editor based on Vim. It is compatible with Vim, but brings new
features to it. If you are already using Vim, you can see their guide on
transitioning by calling :help nvim-from-vim in your neovim editor after
installation.
brew install neovim
SpaceVim
You have a modern text editor, but what you do not have is a configuration for your editor. So, at the moment, you have clean neovim installation that brings you the simple editor without fancy stuff.
SpaceVim fixes that by providing you the distribution of helpful plugins, which are grouped into so-called layers in SpaceVim.
For instance, you want to add support for Rust in your editor. To do that, you
can just add one-liner into a configuration that adds layer called lang#rust,
and that’s it.
SpaceVim has a lot of layers to choose from. At the moment of writing this article, SpaceVim has 124 layers.
For me, I’ve enabled layers for JS/TS/Rust languages, git integration, language servers integration, fuzzy finders. Few layers are enough to have a complete IDE where I can work with Rust like I’m working in other IDEs.
But enough of small talk, let us install SpaceVim. They have an installer for that.
curl -sLf https://spacevim.org/install.sh | bash
All it does, it clones SpaceVim configuration to your local machine and configures your Vim and neovim editors to use that.
After the installation process is done, open neovim by calling nvim in your
terminal. You will see the installer in neovim that installs plugins.
Layers
Now it is the time to open the page with all their layers and select what do you
want to install to your editor. You can find the list on their
website or by typing [SPC] h l in neovim.
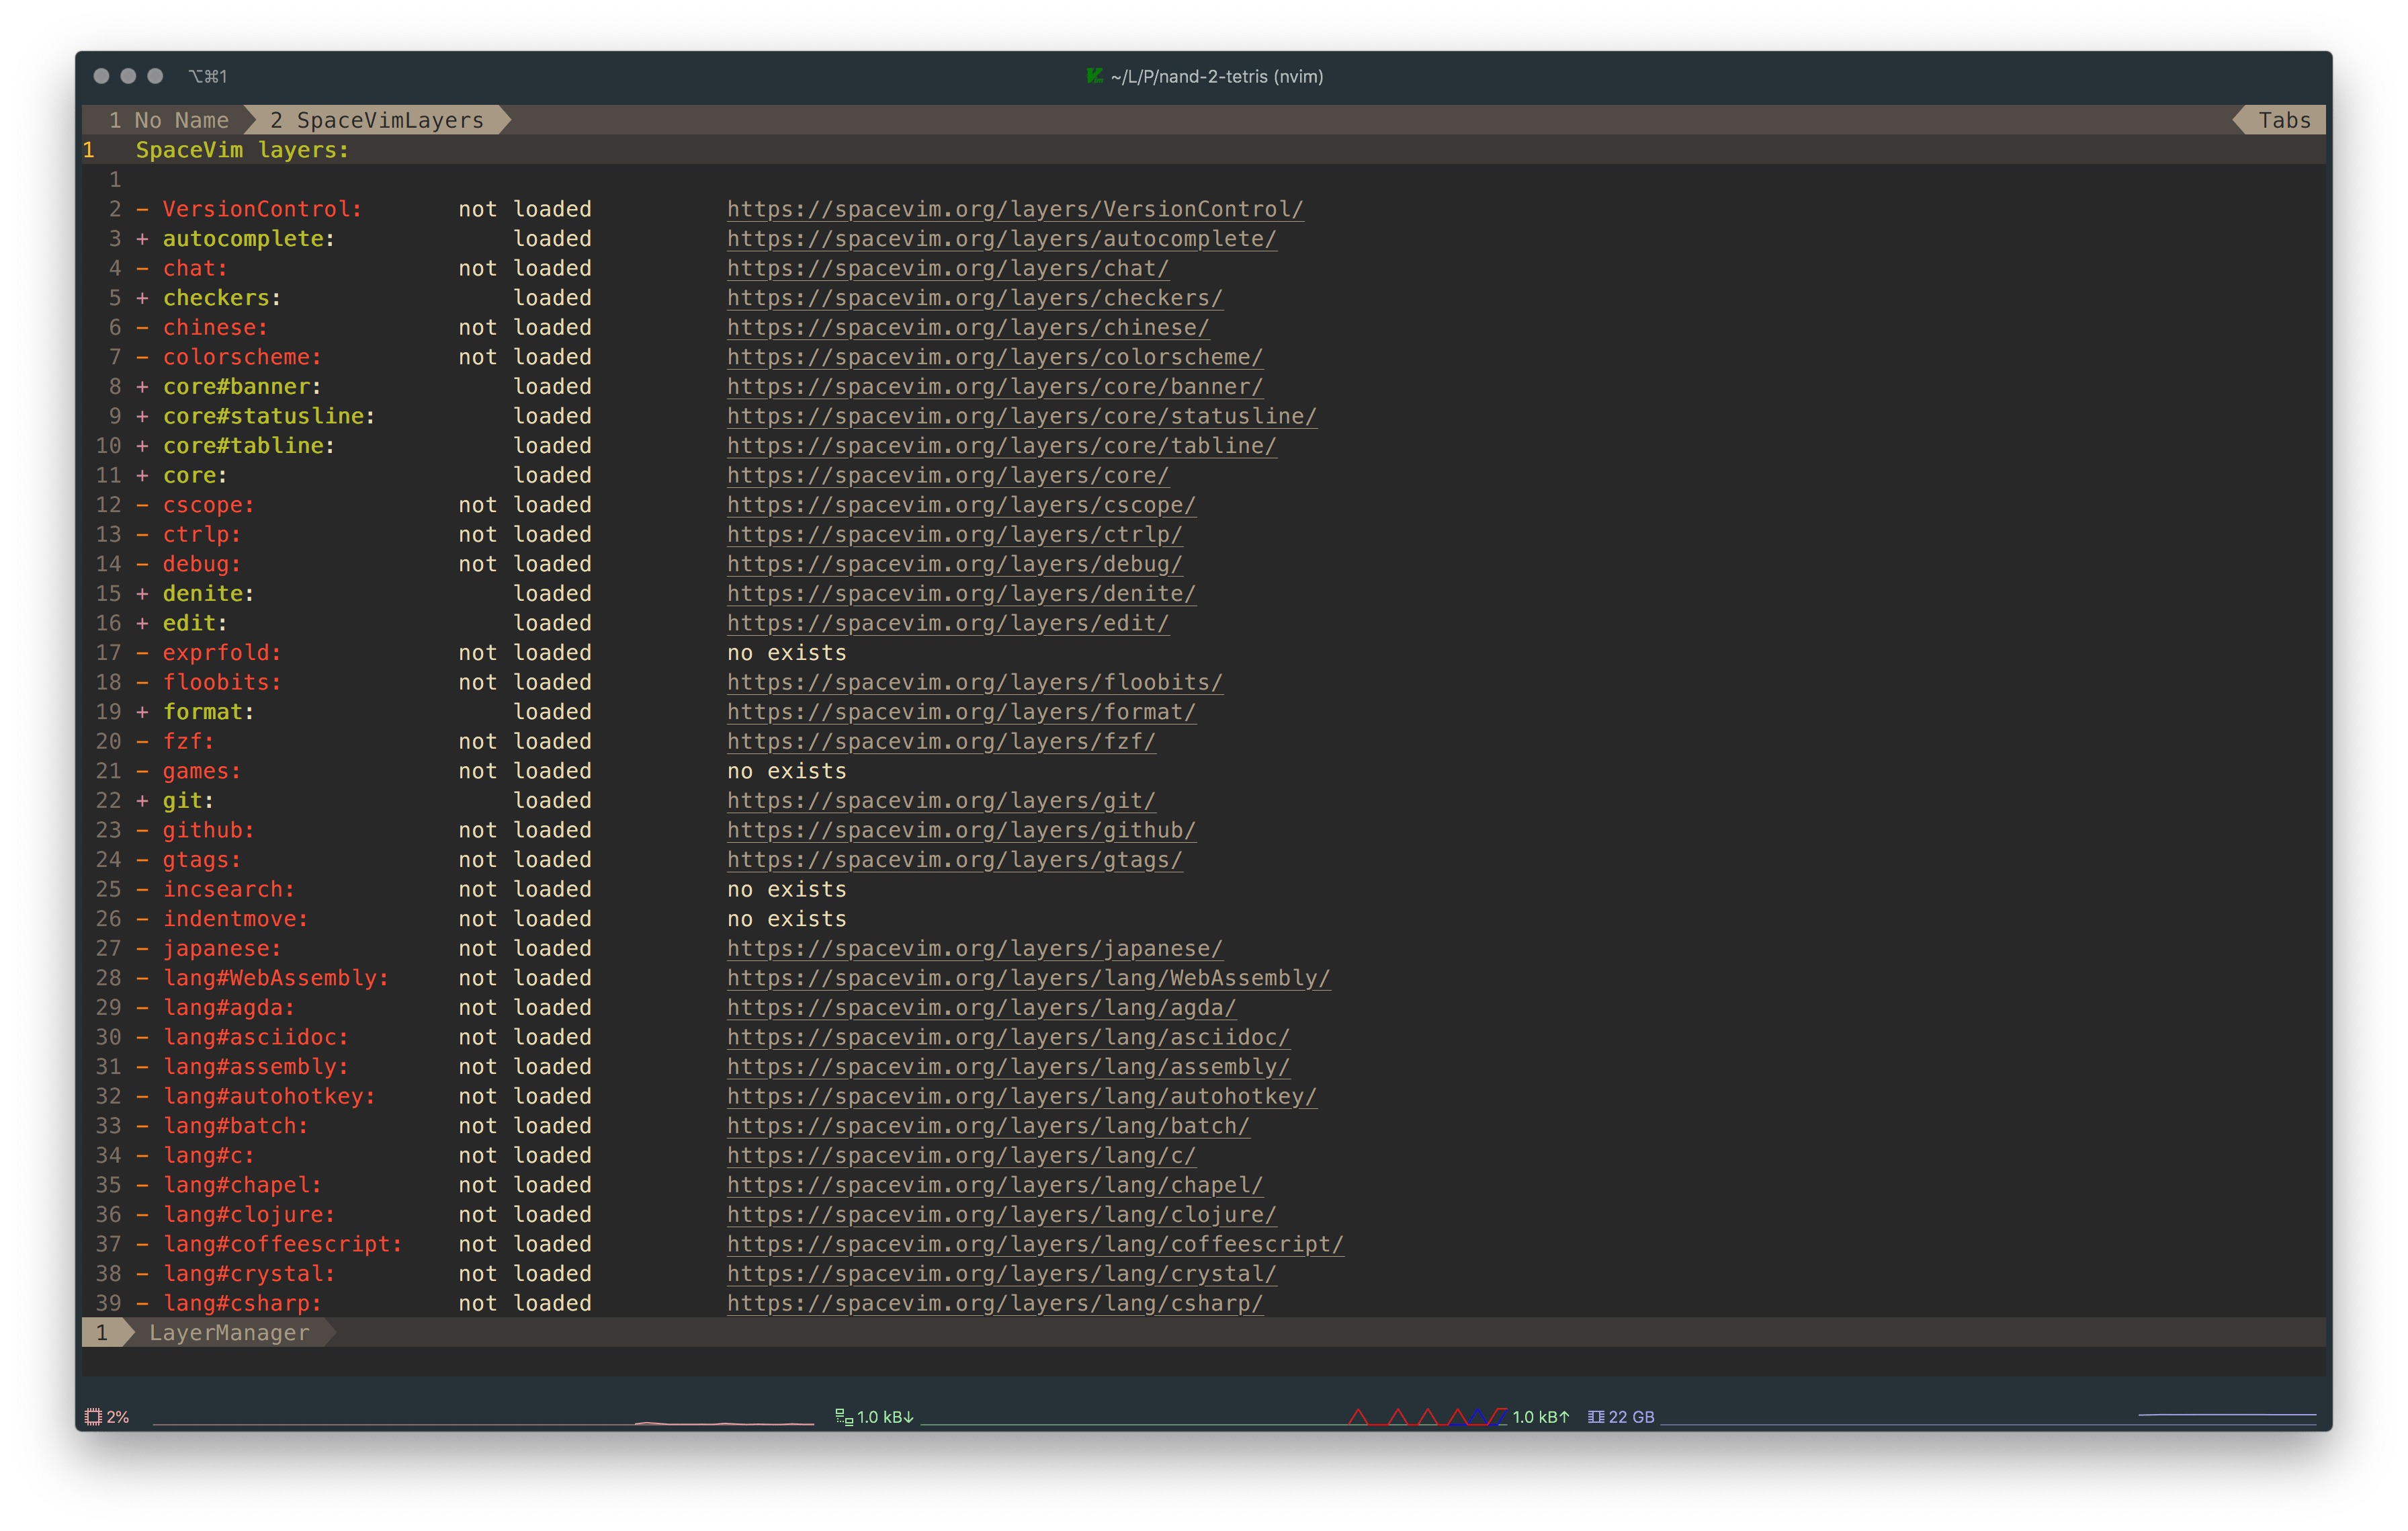
When you find the layer you’d like to install, head to your local configuration
by typing [SPC] f v d and add the section:
[[layers]]
name = "name of your layer here"
Save the configuration file by typing [SPC] f s and restart the editor. On the
next launch, it will install all the required plugins for this layer you chose.
Troubleshooting
Issues can happen and most of the time they are happening. If you see that something is not work or the feature you expect does not appear at all, you can try with health checks first.
Open your neovim editor and call the command :checkhealth. It will show you
the components that are broken and how to fix them. Here is my health check
window for an example:
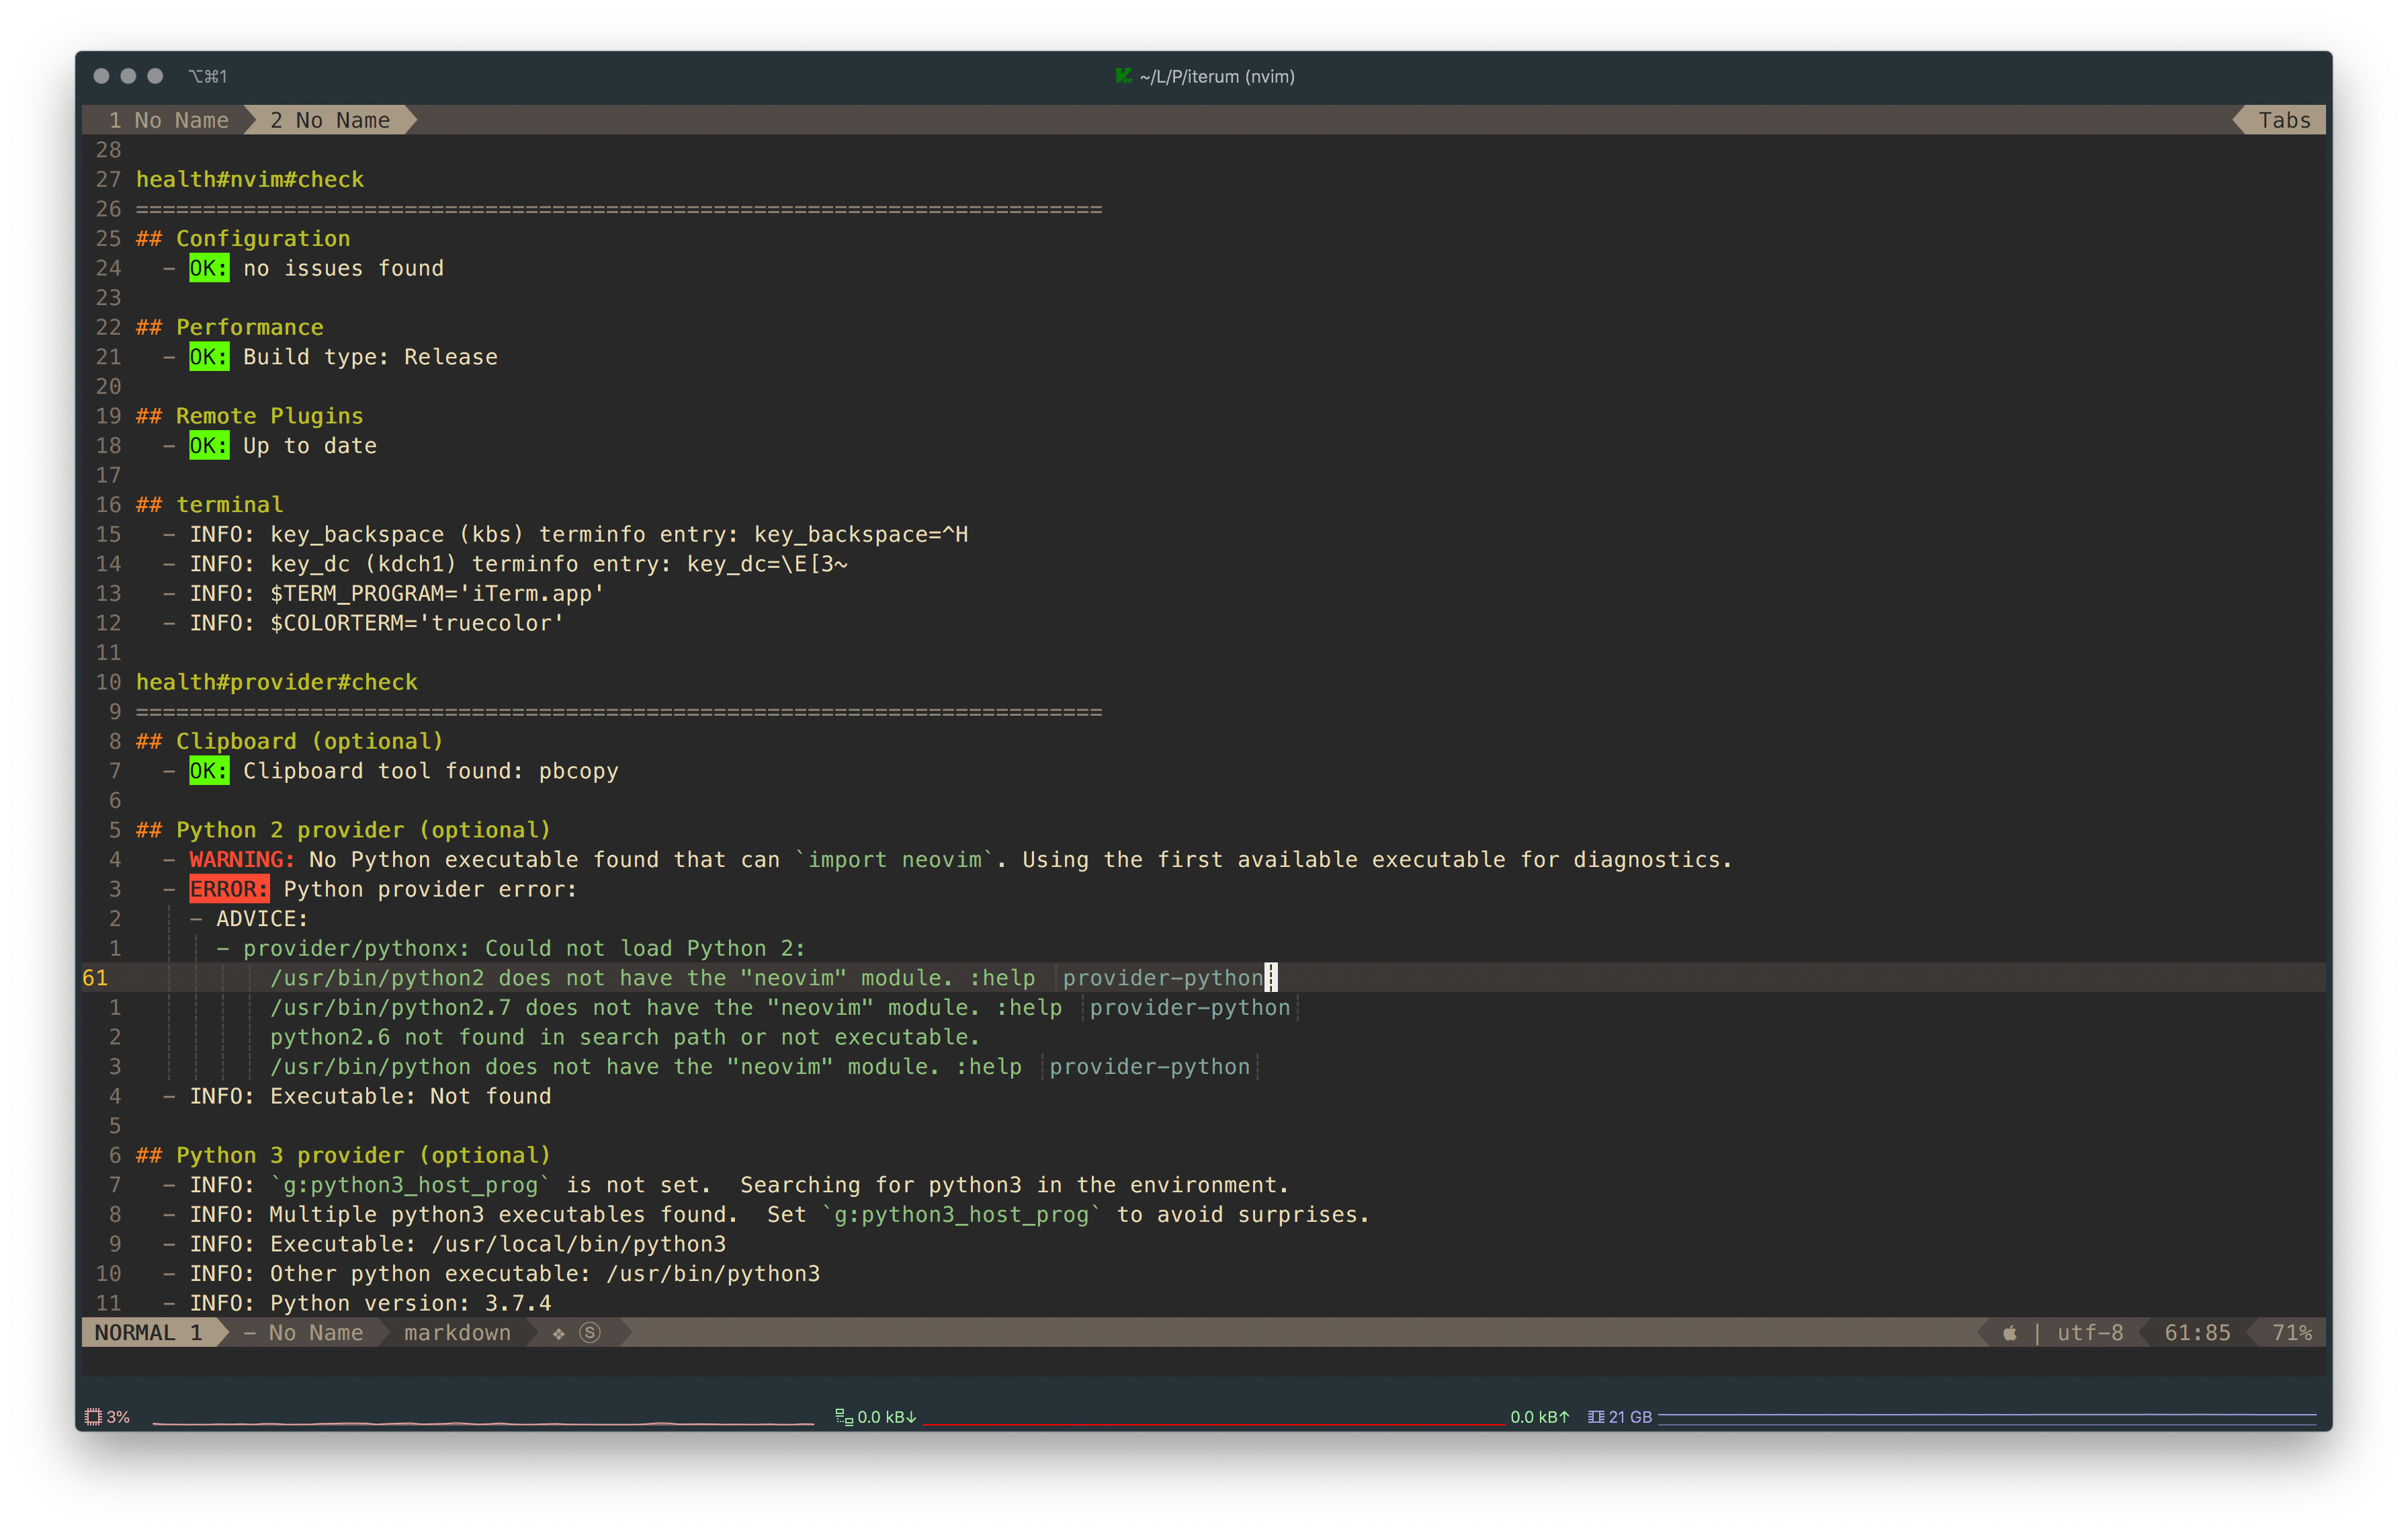
Here, it says that everything is ok, except that the Python 2 provider is not
configured. It even says I need to run :help provider-python which will
explain me how to set it up. But, since I’m not using Python 2, but Python 3, I
can ignore this message.
Epilogue
I just woke up and thought, why not to write something on my blog. Something small enough to make it till the evening. So here we are, reading about Vim and how to give it some superpowers.
You can read more about SpaceVim and their hot keys, leader keys, how to edit your text, etc on their documentation.
I hope you will look more into Vim after reading the article and seeing what you can do with Vim.
Eugene Obrezkov, Software Engineer at Kyiv, Ukraine.



Comments